
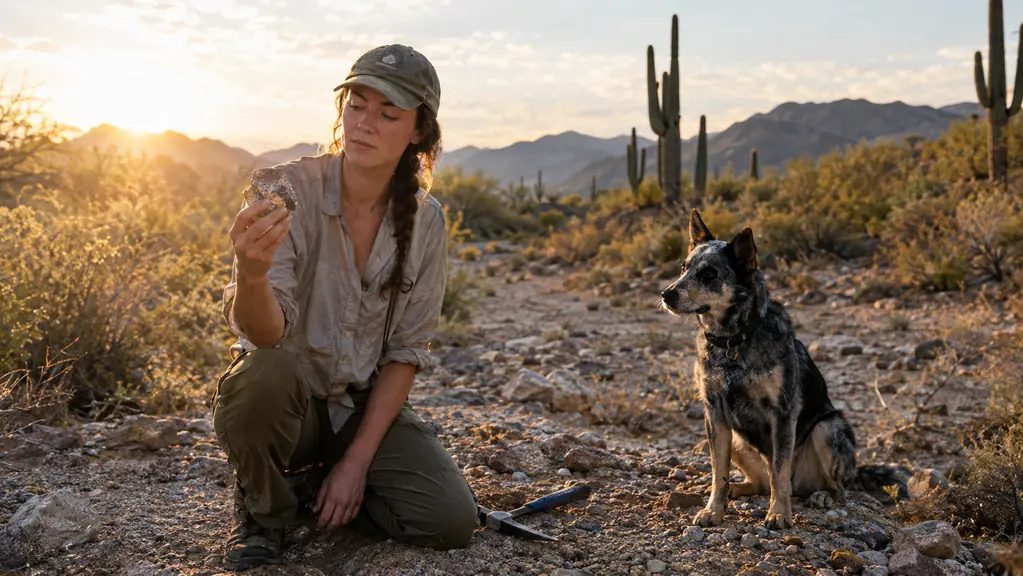
The first batch I ever ran in a tumbler came out looking like gravel that had been through a wash cycle. I had picked the stones myself, spent a full Saturday walking a wash south of Tucson, and I was sure every one of them was a keeper. Twelve years later I can tell you exactly what went wrong. I was choosing rocks that looked good on the outside instead of rocks that would survive a month of tumbling. That one mistake separates the hobbyists who buy their rough from the hobbyists who find it, and it is the reason most new tumblers quit after their second batch.
The fix is not a better tumbler or a fancier grit. It is learning to read the ground before you pick anything up, and it starts with a kit that does not get in your way. I have been carrying the INCLY rock pick hammer kit for the last two collecting seasons, and it covers the three jobs I actually do in the field: breaking, prying, and splitting. This article is the exact process I use when I go looking for tumbling rough, from the first scratch test in the wash to the moment I close the lid on a fresh batch of coarse grit.
Start With the Kit I Carry in the Field
The INCLY 15-piece rock pick hammer kit gives you the hammer, chisel, and pick you need for a day of collecting, all in one kit. It is the same setup I keep in the truck for every wash walk.
Amazon Check Today's Price on Amazon →Step 1: Learn Which Rocks Will Actually Tumble
Before you swing a hammer, you need to know what you are looking for. A rock tumbler is a slow grinding machine, and it only works on material that is harder than the grit doing the grinding. The sweet spot is around 7 on the Mohs scale: agate, jasper, chalcedony, chert, and petrified wood. Softer rocks like calcite, limestone, and sandstone will wear away in the barrel and leave your whole batch frosted and pitted. I learned this the hard way with a bag of pretty sandstone that turned a three-week cycle into a jar of mud.
The field test is simple. Carry a steel knife or a file and drag the edge across a candidate stone. If it scratches, the rock is too soft for a rotary tumbler. If the blade skips and the rock stays smooth, you have a keeper. In the washes around Tucson, the keepers are usually the agates and jaspers that look like plain gray or brown rocks on the outside. The color is inside, and the only way to know is to break one open. That is what the hammer is for.
Cracks are the second thing I check. Hold the stone up to the light and turn it slowly. A crack you can see from the outside is a crack that will split open after a week in the barrel. I rap a candidate stone gently with the hammer head. A clear ring means solid material. A dull thud means there is a fracture running through it, and that stone goes back on the ground. You will bring home fewer rocks this way, but the ones you bring will survive the first stage.
Step 2: Pick the Right Places
Rough rock is everywhere, but good tumbling rough concentrates in specific places. Creek beds and desert washes are my first choice, especially after a big storm. Water sorts rocks by weight, and the stones that have been rolling in a wash for a few seasons are already the ones that can take a beating. Gravel bars on the inside of a bend are the best spots, because the water drops the heavier material there and carries the sand and silt away. I have pulled some of my best agates out of a gravel bar that did not look like much from the road.
Road cuts are another good source, but only where it is legal to collect. On public land, check the local rules for the area you are in. On private land, ask the owner. Most people are fine with a polite rockhound and a little conversation. Few are fine with someone who ignores a fence. Old mine tailings can be excellent, but they can also be unstable and sometimes hold material you do not want to handle, so I only collect there with a friend and a lot of caution.
Timing matters more than you would think. In the desert, the best collecting is the morning after a hard rain, when fresh material has been washed out and the low light makes it easier to see color in the stones. By noon the glare is flat and every rock looks the same. I plan my walks to start early, carry more water than I think I need, and save the heavy hammer work for the shade. A half day of good collecting beats a full day of squinting.
Step 3: Use the Hammer and Chisel the Right Way
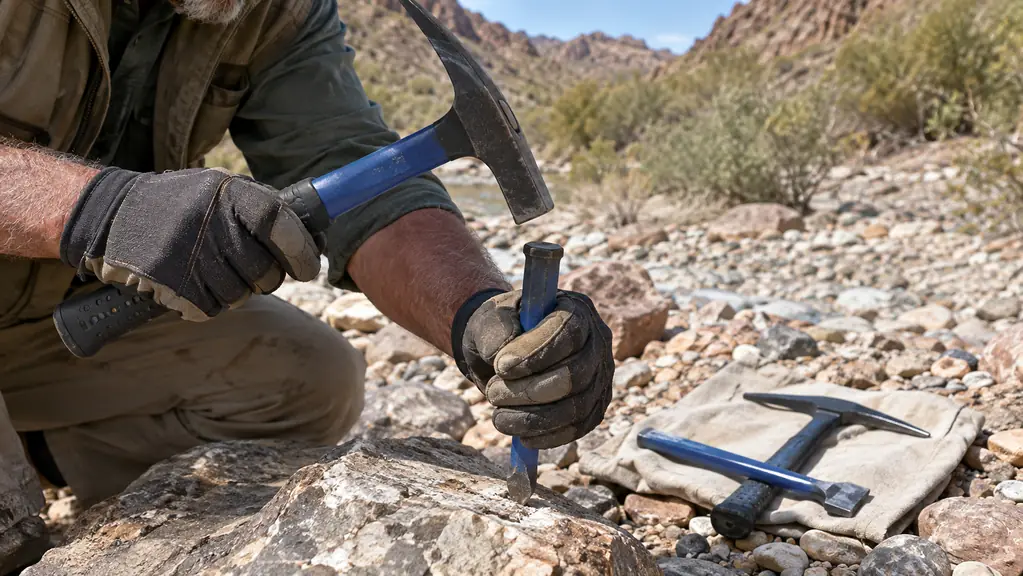
The INCLY kit gives you a hammer, a chisel, and a hand pick, and each one has a job. The hammer is for breaking and for striking the chisel. The chisel is for splitting a rock along a natural fracture line. The pick is for prying a stone out of a bank or lifting it out of a gravel bar. I keep a pair of safety glasses clipped to the kit's case, and I wear them every time, even for a single tap. Rocks throw chips in directions you cannot predict, and one chip in the eye ends the day.
The technique is simple but easy to get wrong. You do not smash the rock with the hammer. You set the chisel on the line you want to split, hold it at a slight angle, and let the hammer do the work. Two or three firm taps are better than one hard swing. You are trying to persuade the rock to split along a line it already has, not to shatter it into gravel. When a stone does shatter, the pieces are usually too small for the barrel anyway, and I have a shelf of tiny broken agates to prove it.
After every split, look at the fresh face, not the weathered outside. The outside of a desert rock has been sun-baked and wind-blasted for years, and it tells you nothing. The fresh face is what your tumbler will actually work on. If the fresh face shows color and a tight, even grain, the stone belongs in your bag. If it shows rust, pits, or a crumbly texture, leave it. This is the step that saves you from filling a barrel with junk, and it is the step most beginners skip because they are in a hurry to fill the bag.
Step 4: Test and Sort in the Field
Before anything goes in the bag, I run it through the same three checks. First, the scratch test with the knife blade. Second, the ring test with the hammer. Third, a size check. Your tumbler barrel can only take stones that fit comfortably, and I size mine to about three quarters of the barrel's diameter at the widest point. Anything bigger gets knocked down with the hammer or left for another day. A bag of perfect stones that are all too big is just a bag of rocks, and I have carried a few of those back to the truck.
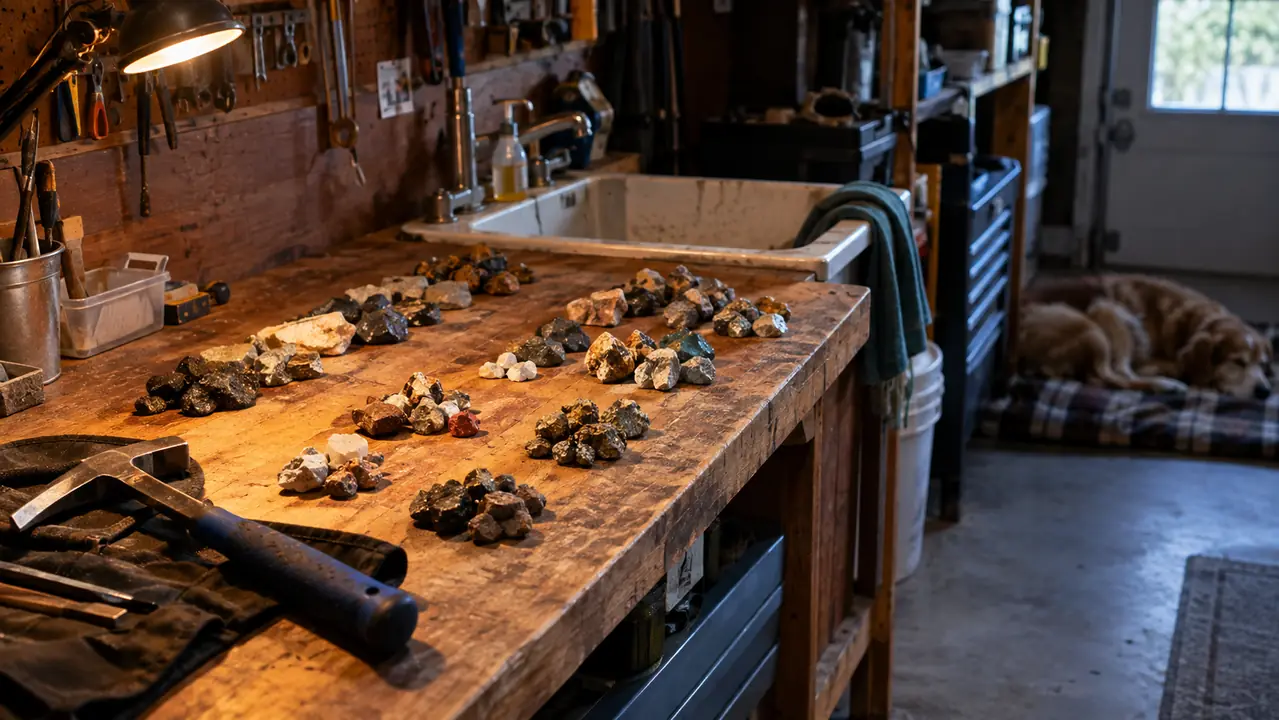
Sorting as you go is the part most beginners skip. Keep your agates with your agates and your jaspers with your jaspers, because hardness is not the only thing that matters. One soft stone in a batch of quartz will grind away and leave your other rocks pitted and frosted. I use a few cloth bags or the pockets of my vest to keep the groups separate in the field, then re-sort everything on the bench at home before it goes anywhere near the barrel.
Here is the rule that took me the longest to learn. The best tumbling rough is often the ugliest rock on the ground. A weathered, pitted, sun-blasted exterior can hide a beautiful interior, and the only way to find out is to break it open. If you only pick the shiny stones, you will come home with a bag of rocks that are already as polished as they will ever get. I have found some of my best agates in stones I almost stepped on, and every one of them looked like a plain gray cobble from the top.
Step 5: Clean, Sort, and Start Your First Batch
Back at the bench, the work is not done. Every stone gets a scrub in the utility sink to knock off the dirt and grit, then a couple of hours to dry. The wash sink in my garage has seen a thousand pounds of desert dirt, and it saves the tumbler from a whole cycle of mud. Once the stones are dry, I inspect them again under the workbench light. A crack that was invisible in the glare of the wash is easy to see over a clean sink, and this is the last chance to pull a bad stone before it ruins a batch.
Then I weigh the batch and write the details on the bag with a grease pencil: the location, the date, and the stone type. It sounds fussy, but six months from now you will want to know which wash produced the batch that came out glassy. I keep a field notebook, but honestly a paper bag and a grease pencil work just as well. The goal is to learn from every batch, and you cannot learn from a batch you cannot remember.
Now the actual tumbling. I run the first stage with coarse grit for seven days, then check the stones under running water. Most of my batches need two or three runs of coarse grit before the shapes are rounded and ready for the next stage. If a stone cracks in stage one, I pull it out and replace it with another from the same bag. One cracked stone will shed grit and ruin the polish of everything around it, so it is worth the two minutes to check.
What Else Helps
The INCLY kit handles the hammer, chisel, and pick work, but a few extra items make a collecting day easier. A 10x loupe lets you check a fresh face for cracks and grain before you commit to a stone. A steel file doubles as a scratch tester and a way to clean up a rough edge. A sturdy backpack with a padded strap carries the weight better than a bucket, and a small brush clears the dirt out of a crack so you can see what you are actually working with.
The most useful tool I carry is a notebook. I write down the location of every wash, the date, and what I found there. After a couple of seasons you will have a mental map of the good spots within an hour of your house, and the notebook is what makes that map possible. Biscuit comes along on the easy walks, and he has learned that a stopped rockhound means it is time to sit down and wait. The tumbling itself happens back in the garage, where he naps on his blanket and the tumbler sits on the far bench, as far from his ears as the room allows.
One soft stone in a batch of quartz will grind away and leave your other rocks pitted and frosted.
Pack the Kit That Handles a Full Day of Collecting
The INCLY 15-piece rock pick hammer kit is the same setup I keep in the truck for every wash walk. It covers the hammer, chisel, and pick work in one kit, and it will handle a beginner's first season as well as my twelfth. Check today's price on Amazon and see if it fits your next collecting trip.
Amazon Check Today's Price on Amazon →