
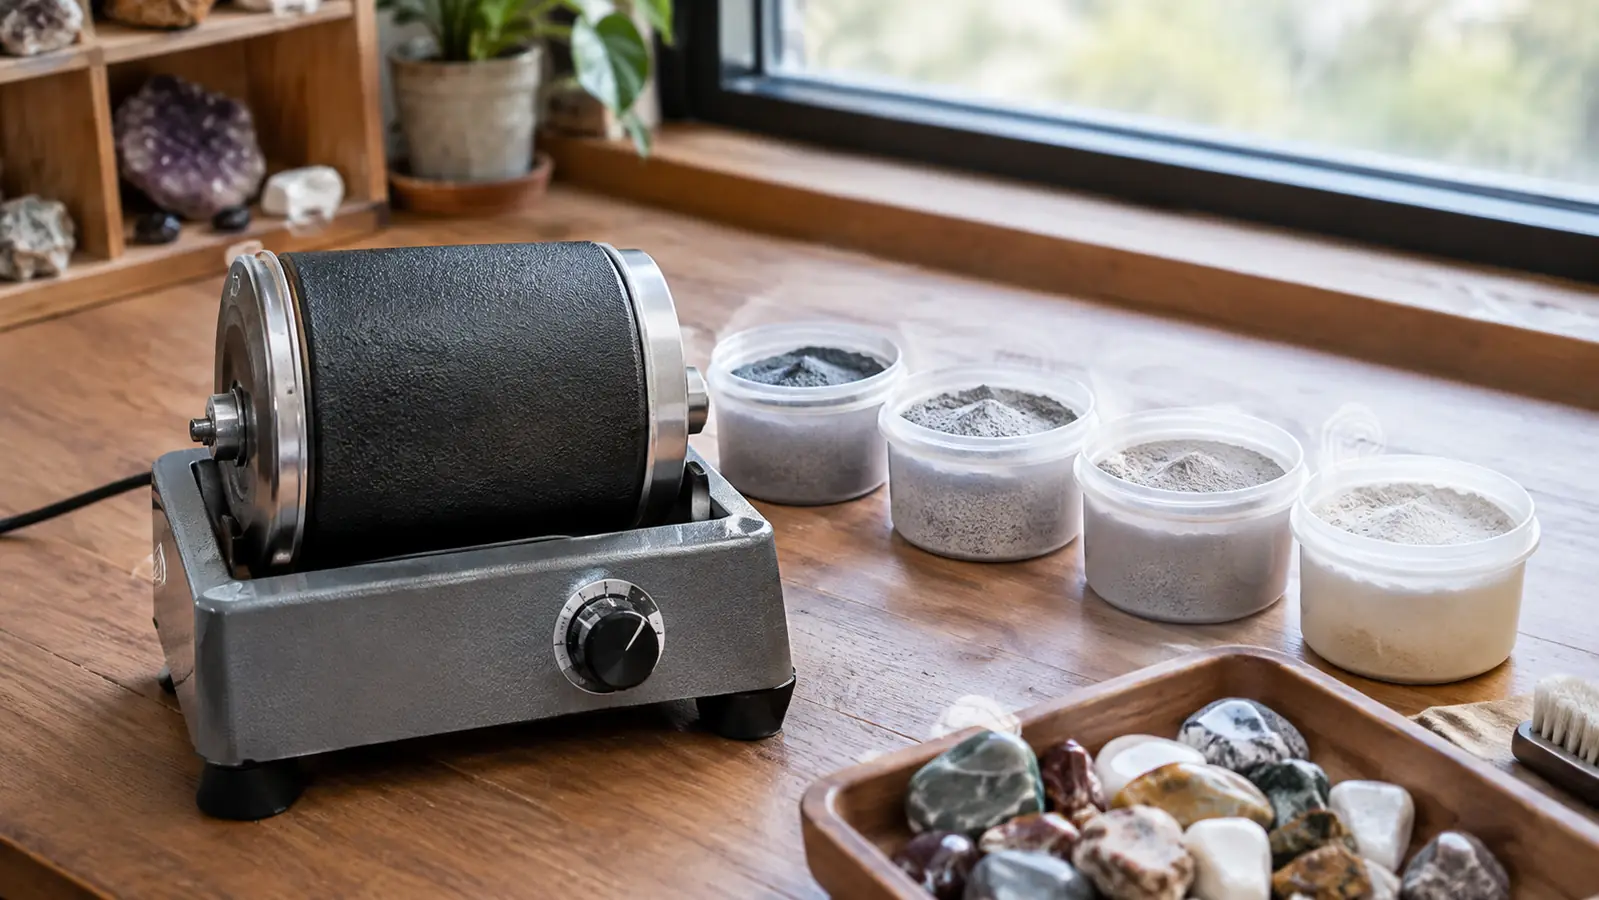
Twelve years back, when I first started tumbling rocks in my garage here in Tucson, I did what most beginners do. I skipped steps. I figured the polish was the important part, so I could save time and grit by jumping straight from coarse to polish. I ruined a lot of good agate that way, most of it picked from desert washes on day trips. The stones came out looking like a wet rock that had dried, sort of hazy, with fine scratches you could only catch in the right light. My wife Carol still brings up the batch of rose quartz I handed her with a straight face, calling it 'rustic.'
The fix was simpler than I expected. The Blue Marble 4-step tumbling grit refill kit, sold under the National Geographic name, basically forces you to do the job in order. Four steps, each one removing the scratches left by the step before. It sounds obvious, but it took me a dozen ruined batches to learn it. Here are the ten reasons I keep coming back to this kit, and why the full 4-step sequence is the difference between a shine and a 'shine.'
The 4-step kit that fixed the step I used to skip
If you've been tumbling with shortcuts and wondering why your stones look hazy, the Blue Marble 4-step grit kit is the fix. Four graded steps, a matched polish, and ceramic media to carry the grit into every crevice.
Amazon Check Today's Price on Amazon →Coarse grit does the heavy lifting so the finer steps don't have to
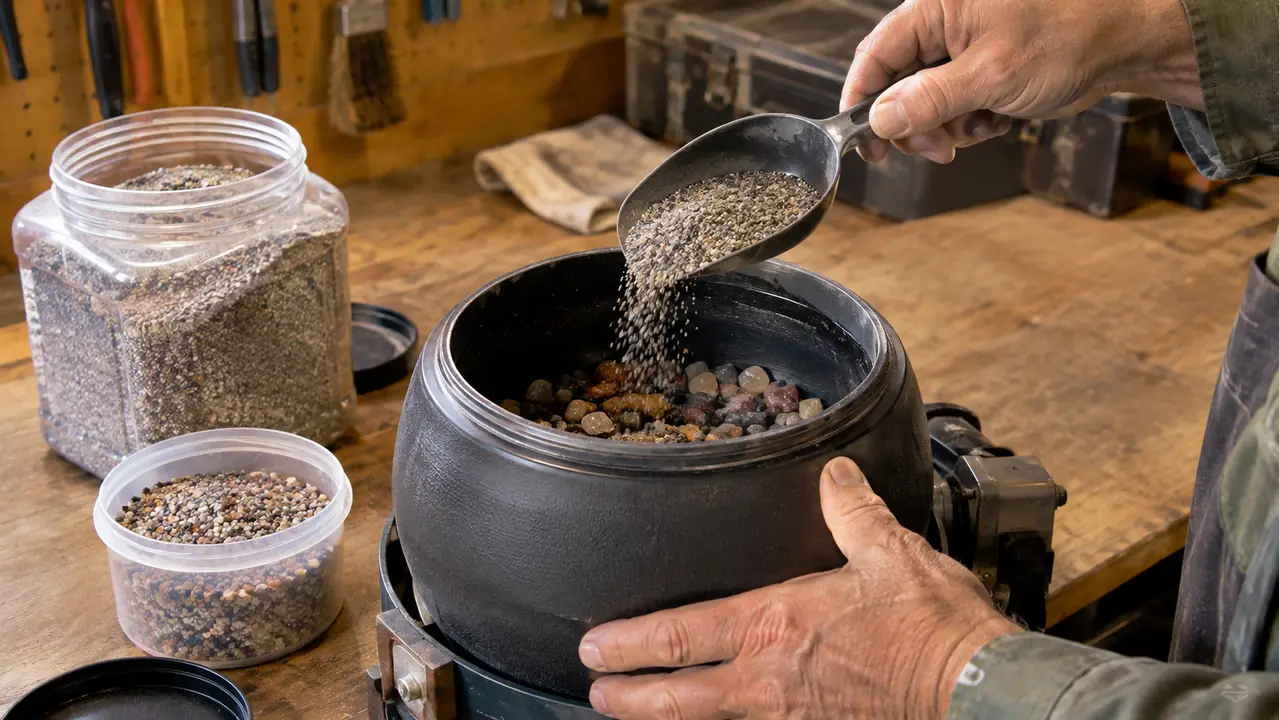
Step 1 in this kit is 60/90 silicon carbide, and it earns its keep. It knocks off the rough edges, digs out the deep pits, and rounds the stone into something worth polishing. If you start with a finer grit, you spend days grinding away material that coarse grit would remove in hours. I run my rough batches about a week, then check. Most stones are ready; the stubborn ones get another round before I move on.
Every step is graded to remove the scratches from the step before
The whole idea behind a 4-step sequence is that each grit leaves its own scratches, and the next finer grit removes them. Step 2 takes out the marks from Step 1. Step 3 takes out the marks from Step 2. By the time the stone reaches the polish, the surface is smooth enough that the polish has exactly one job left: making it shine. Skip a step, and the polish spends two weeks trying to fix scratches it was never designed to touch.
Consistent particle size means no random deep gouges
Cheap grit is often a mix of particle sizes. A few oversized grains in a batch of fine grit will carve deep scratches that nothing else in the barrel can fix. The Blue Marble grit is graded consistently, so every grain in the Step 3 jar is doing the same work. That consistency is what gives you an even shine across the whole stone instead of a blotchy one. That kind of grading is harder to pull off, and it shows in the finish. I'd rather tumble with consistent particles than fight random gouges at the polish stage.
The pre-polish step is the difference between glossy and hazy
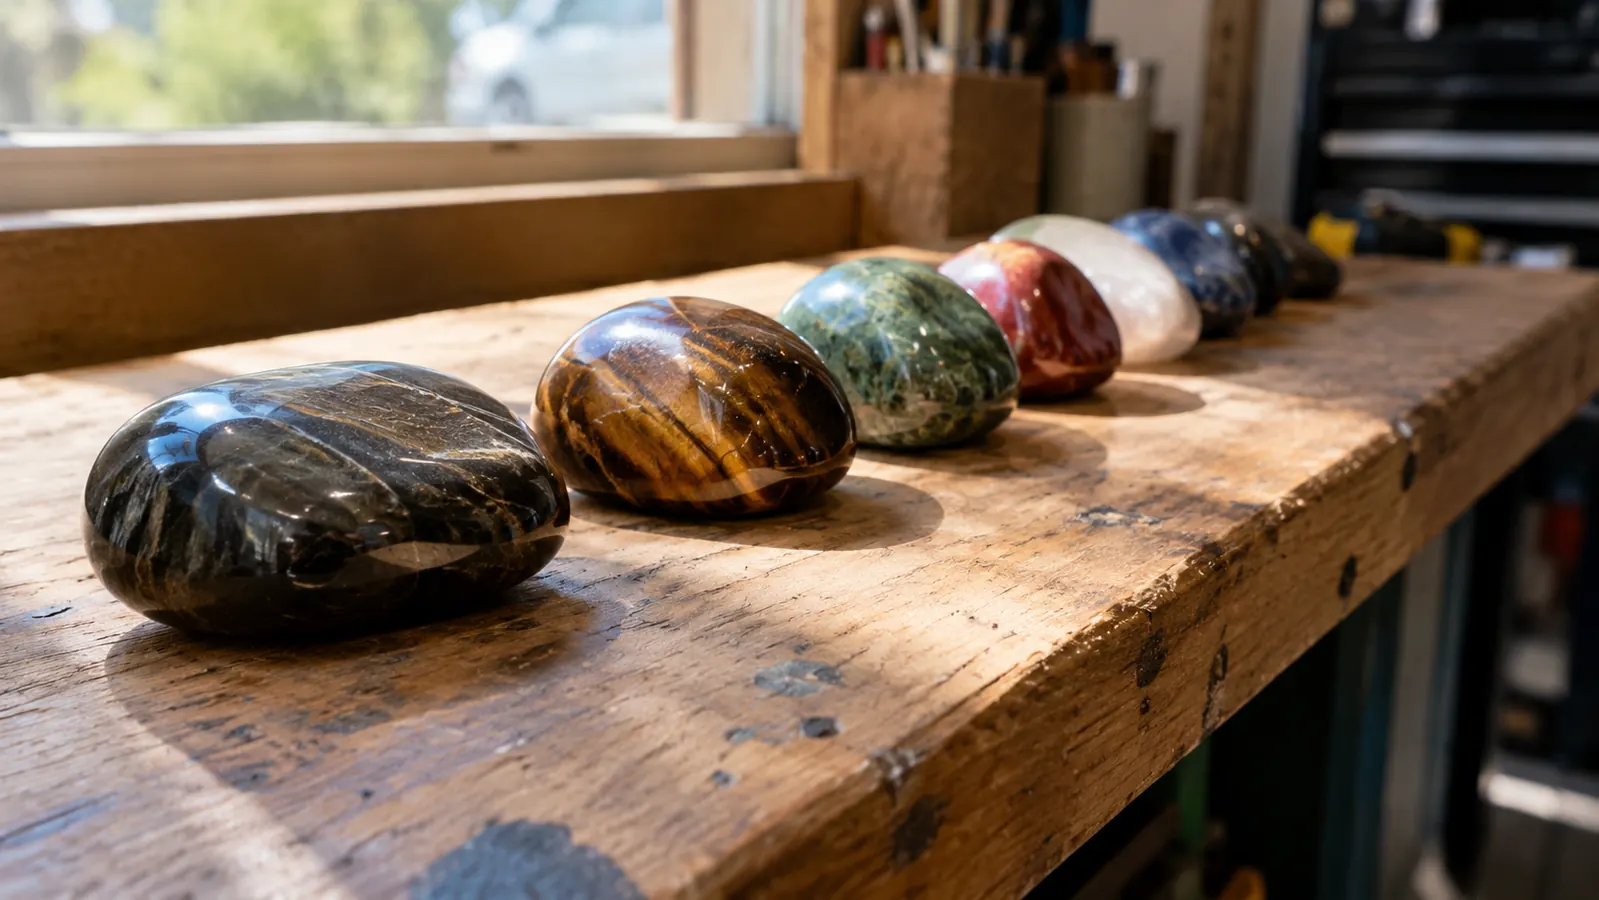
This is the step most beginners skip, and it's the one that matters most. Step 3 leaves a surface that looks almost matte, but it removes the last visible scratches. Without it, the polish step gives you a shine that looks hazy in sunlight. With it, the stone looks wet even when it's bone dry. I tell people at the Tucson gem show every winter: the pre-polish is where the shine is actually won. I've watched folks nod along and then skip it anyway.
A properly prepared surface holds its polish for years
A stone that goes through all four steps has fewer microscopic pits for the polish to settle into. That means the shine is not just deeper, it lasts. Stones I tumbled with this kit four years ago still hold their gloss on the shelf. The shortcut batches from my early days have dulled and need a re-polish. Do it right once and you're done.
The polish is matched to the grit that came before it
The final step in this kit is aluminum oxide polish, which is a different mineral from the silicon carbide used in the first three steps. It's softer than carbide, and that's exactly right. It buffs the surface smooth instead of cutting fresh scratches. Using a polish that's too hard for the job is a classic beginner mistake. Blue Marble matched the polish to the sequence, so you don't have to think about it.
Four steps take less total time, not more
This sounds backwards, but it's true. A shortcut batch spends two weeks in the polish stage trying to fix scratches that should have been removed in Step 3. A proper 4-step batch spends about a week in coarse, a week in medium, a week in fine, and a few days in polish. Same total time, much better result. Each step does less work, so each step finishes faster. I also run the tumbler on a folded rubber mat so the rattle stays low; Biscuit, my red heeler, naps on a blanket in the garage and has opinions about loud noise.
The ceramic media carries grit into every crevice
The kit includes ceramic filler media, and it does two jobs. It takes up space so the stones don't slam into each other, and it carries grit into the crevices and undercuts that stones can't reach on their own. I use about half media and half stone by volume, and I add a little extra media for the polish step. That's the difference between even grinding and flat spots. It's the detail beginners ignore and the one that saves your stones from chipping each other.
The same four steps give you repeatable results
When you use the same four steps every time, you can actually learn from your mistakes. If a batch comes out dull, you know it's the pre-polish stage or the stone, because the grit didn't change. That consistency is how you go from guessing to knowing. It's the difference between a hobbyist and the guy whose friends start asking him to tumble their rocks. Troubleshooting gets easier with a fixed sequence. When a batch goes wrong, I look at what I did and fix the next run instead of blaming the grit.
A complete kit means you always have the right step on hand
I used to buy grit in single jars and run out at the worst moment, usually right before the polish step. A kit that covers all four steps means you've got the right grit for the stage you're on, and a refill lasts me several months of steady tumbling. I don't have to hunt down single jars at the gem show when I run out mid-batch. That alone is worth the shelf space. A half-finished batch sitting on the bench while you wait for a delivery is how stones gather dust.
What I'd Skip
If you're tumbling soft stone like calcite or selenite, skip the coarse step entirely. It will eat those stones alive. And skip the urge to peek inside the barrel every day. Open it once a week at most; every time you open it, you interrupt the grit's work and you lose the slurry that does the cutting. Let the Blue Marble kit run its course and check in at the end of each step. Also skip the 'free grit' that comes with some tumblers; it's usually a single jar of coarse grit and a packet of polish that was never going to shine anything. If you want the full timeline of how this kit behaves over a year of steady use, the long-term review on this site walks through it batch by batch. And if you're stuck choosing between this grit and the other big brand, the comparison on this site covers where each one wins.
The pre-polish step is where the shine is actually won. Skip it and you get hazy. Run it and the stone looks wet when it's bone dry.
Stop ruining good agate with shortcuts
If any of this sounds familiar, the fix is one kit away. Four graded steps, a matched polish, and ceramic media, all from Blue Marble. Start your next batch the right way.
Amazon Check Today's Price on Amazon →