
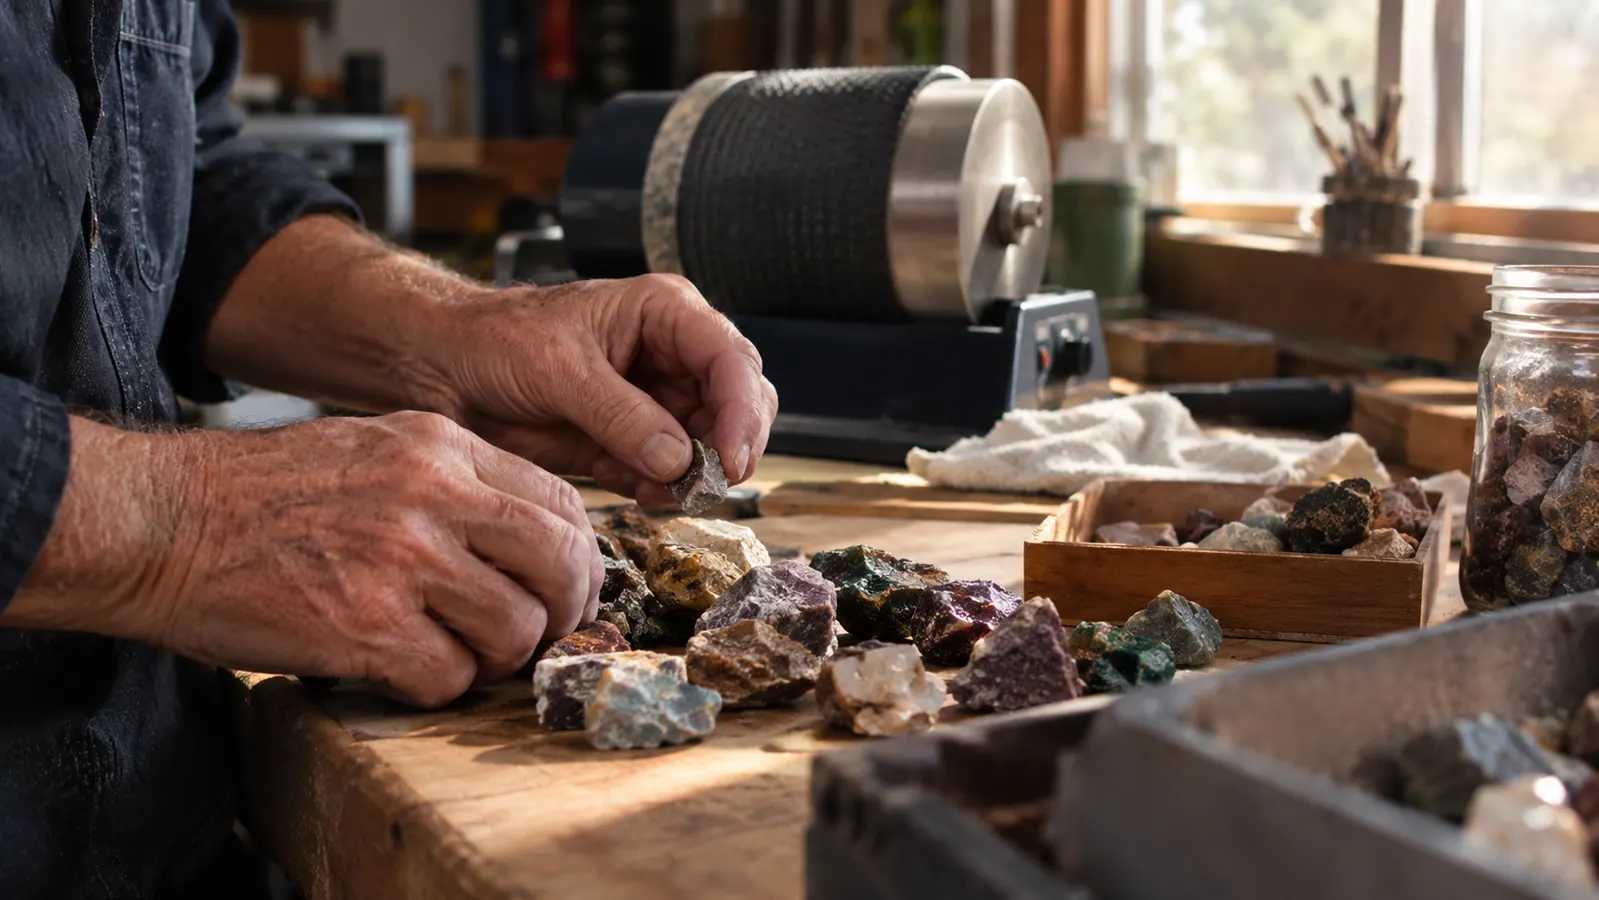
I have tumbled rocks in my garage for about twelve years now, and I can tell you the exact moment I stopped trusting the shiny batches. It was a Tuesday in March, and I had just run a load of petrified wood through the full four-step cycle using the National Geographic grit and polish refill kit from Blue Marble. The stones came out smooth, rounded, and completely dull. Not a single one had the wet-glass look I was after. My first thought was that the grit had gone bad. My second thought was that I had finally ruined a batch for good. Both were wrong.
What actually happened is simpler and a lot more useful. I had skipped the burnish step because I was in a hurry, and I had rinsed the barrel with tap water that left a fine mineral film on every stone. The polish stage never got a clean surface to work on. The grit did its job. The rocks did their job. I was the one who cut the corner, and the batch paid for it.
I mention this because most tumbling advice starts with the happy ending. The internet is full of before-and-after photos of agates that look like candy. Nobody posts the batch that came out dull, even though every hobbyist has one. So here is mine, along with what it taught me about grit, patience, and the difference between a tool and a shortcut.
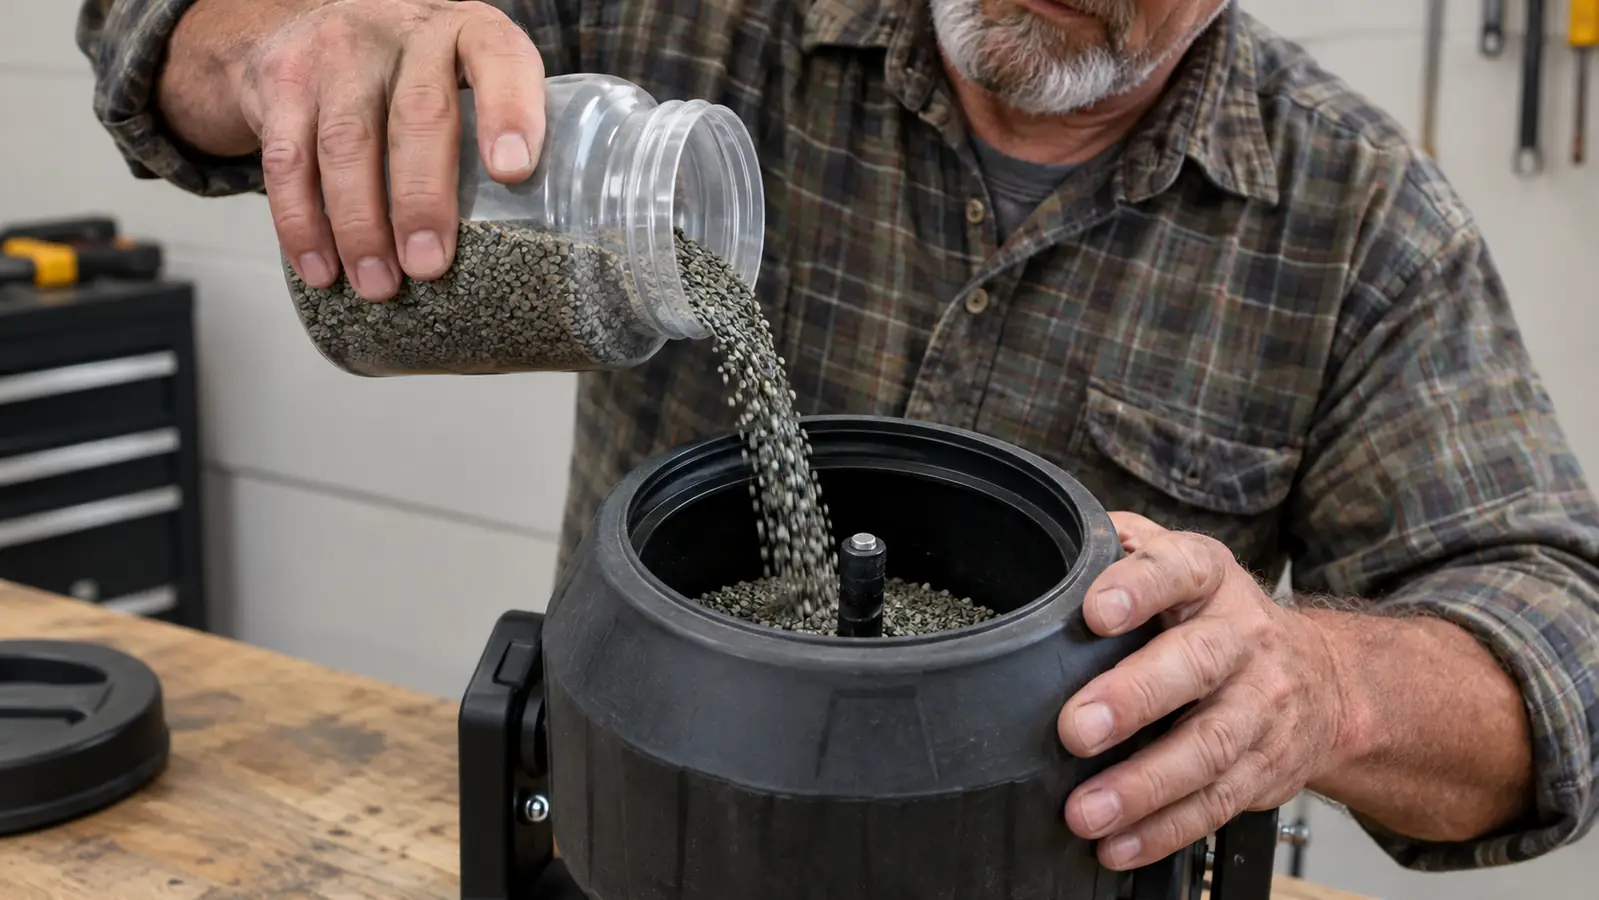
The kit itself is straightforward. Blue Marble packs four stages of grit and polish in labeled plastic jars, enough for a couple of full loads in a standard three-pound barrel. The coarse stage is aggressive, the medium and fine stages do the shaping, and the final polish is what gives you the shine. I have used it on agates, jaspers, petrified wood, and plain desert quartz from the washes outside Tucson. It works on all of them, as long as you follow the steps and give each stage the full time it asks for.
The grit did its job. The rocks did their job. I was the one who cut the corner, and the batch paid for it.
Skip the dull batch: start with the full four-stage kit
The National Geographic Rock Tumbler Grit and Polish Refill Kit from Blue Marble has the coarse, medium, fine, and polish stages you need to go from rough stone to glassy finish. Check today's price on Amazon and keep a fresh set of jars on the shelf before your next load.
Amazon Check Today's Price on Amazon →The dull batch taught me three things I now do on every run. First, I rinse the barrel and the stones with distilled water after the final polish stage, then I add a spoonful of plain dish soap and let the barrel run for twenty minutes. That burnish step is what knocks off the last film and lets the polish show through. Second, I clean the barrel lid and the rubber rim with a damp rag between stages, because grit from the coarse stage will scratch a surface that the fine stage just polished. Third, I stopped judging a batch the day it comes out of the barrel. I set the stones on the workbench, let them dry overnight, and look at them the next morning in sunlight. A dull stone in bad light can look like a failure. The same stone in morning light can look like a keeper.
I also learned something about the grit itself. Blue Marble's coarse stage is harder than the rocks in most beginner loads, which is what you want. If your grit is softer than your stone, it just rolls around in the barrel and polishes itself. That is why cheap kits disappoint people. The grit never actually cuts. The National Geographic kit cuts, and it cuts at a predictable rate, which means you can trust the timing on the instructions instead of guessing.

Biscuit, my nine-year-old red heeler mix, naps on a blanket in the corner of the garage while the tumbler runs. He hates loud rattling, so I set the barrel on a folded towel and check the lid seal before every run. A loose lid makes a racket, and a racket makes Biscuit leave. A tight lid and a towel under the barrel mean a quiet garage and a happy dog. That is the kind of detail that never makes it into the glossy tumbling guides, but it matters more than most of them.
The batch that came out dull is still sitting in a cardboard tray on my workbench. I kept it on purpose. Every time I am tempted to skip the burnish step or rush the fine stage, I look at those flat, gray stones and remember that the process is the product. The grit is not magic. It is a cutting tool, and like any cutting tool, it only works when you use it the way it was designed to be used.
What I'd Tell You If We Were Sitting at My Kitchen Table
If you were sitting at my kitchen table with a cup of coffee and a tray of rough stones, here is what I would say. Buy a kit with all four stages, and buy one from a brand that has been making this stuff long enough to get the grit sizes right. Blue Marble has been at it for years, and the National Geographic kit is the one I hand to beginners and the one I reach for myself. Then follow the instructions like they matter, because they do. Give the coarse stage the full week. Rinse between stages like your polish depends on it, because it does. Add the burnish step and the dish soap, because that is the difference between a batch that shines and a batch that sits in a cardboard tray on my workbench.
And when a batch comes out dull, do not throw the stones away and do not blame the grit. Set them aside, run the next load with clean barrels and clean water, and give the process the time it asks for. The dull batch is not a failure. It is a lesson with a very specific address, and now you know exactly where to look.
Give your next batch the full four stages
The National Geographic Rock Tumbler Grit and Polish Refill Kit from Blue Marble is the kit I keep on the shelf for every load. Check today's price on Amazon, grab a fresh set of jars, and let the tumbler do the work it was built to do.
Amazon Check Today's Price on Amazon →