
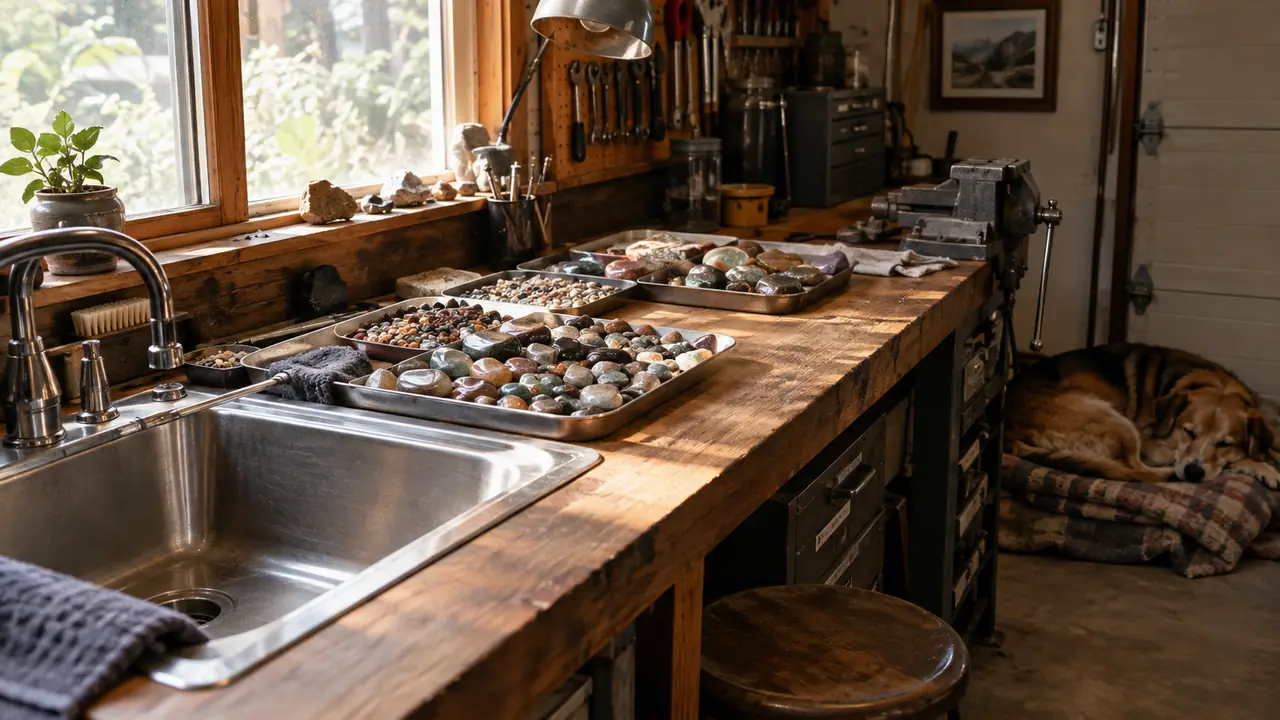
The first time I ran a batch through a rotary tumbler, I waited five weeks for rocks that came out looking like wet gravel. I was patient. I re-ran them. I bought better grit. And I kept losing whole Saturdays to a barrel that sounded like a dryer full of bolts. Twelve years later, my garage setup still has that rotary on the shelf, but the machine that gets used most weeks is my Raytech TV-5 vibratory tumbler. It turns a six-week project into a nine-day one, and it runs quiet enough that my dog Biscuit naps right through it.
Before the steps, the honest part. A vibratory tumbler does not shape rocks. It shines them. If you feed it jagged rough, you get jagged rough with a nice gloss on top, so the method that works is to start with stones that are already close to the shape you want and let the vibration do what it does fast. I learned this on my first batch. I filled the bowl with creek gravel, ran it for three days, and opened the lid to find the same gray rocks I put in, only wet. The bowl is a finisher, not a sculptor.
Polishing in Days Instead of Weeks Starts With the Right Machine
The Raytech TV-5 is the tumbler I keep on the bench for every batch that matters. It runs quiet enough to leave on overnight, and it cuts my finish time from weeks to days.
Amazon Check Today's Price on Amazon →What the TV-5 Does Differently
A rotary tumbler rolls a sealed barrel end over end. The stones fall, bump, and grind against each other, and that slow falling is what rounds them off. It also takes forever. A vibratory tumbler shakes the whole bowl in a tight, fast motion, so the stones slide around in a constant loop and the grit keeps working against every face at once. Same grit, same chemistry, but the work happens many times faster. Batches that ran four to six weeks in my rotary now run seven to ten days in the Raytech TV-5.
The tradeoff is that you have to check on it. In a rotary, a stage can run long without much harm. In a vibratory, an extra day on the coarse grit will bruise the faces and frost the polish. I set a timer on my phone and look in the bowl morning and night. The other difference is the sound. A rotary rattles. The TV-5 hums. That matters in my garage because Biscuit has a blanket on the workbench corner and he will not sleep through a rattling barrel. The TV-5 sitting on a rubber mat, he naps right through it.
Step 1: Start With Stones That Are Already Shaped
The biggest mistake I see at the Tucson gem show is people buying a vibratory tumbler expecting it to do what a rotary does. It will not round a jagged rock. So step one is to feed it material that is already close to finished. That means stones that came out of a rotary rough stage, cabochons you shaped on a flat lap, or smooth beach pebbles. I keep a tub of rotary leftovers under the bench for exactly this purpose. It took me a year of mediocre batches to figure this out, so you get to skip that year.
Sort that material by hardness first. Keep quartz-family stones together around Mohs 6 to 7, and keep softer material separate, because a soft stone in a bowl of hard ones will come out pitted. Then go through the batch by hand and pull anything with a crack or a deep pit. A flaw like that collects grit and keeps rubbing against the good stones. Ten minutes of sorting saves two days of rework.
Wash the keepers in the utility sink with dish soap and an old toothbrush. A clean load is the whole difference between a bright polish and a dull one, because dust from the yard acts like a low grade of sandpaper in the bowl. Rinse until the water runs clear, then let the stones dry completely before they go in. Wet stones carry grit from one stage to the next, and that is how a finish goes cloudy.
Step 2: Load the Bowl at Two-Thirds Full
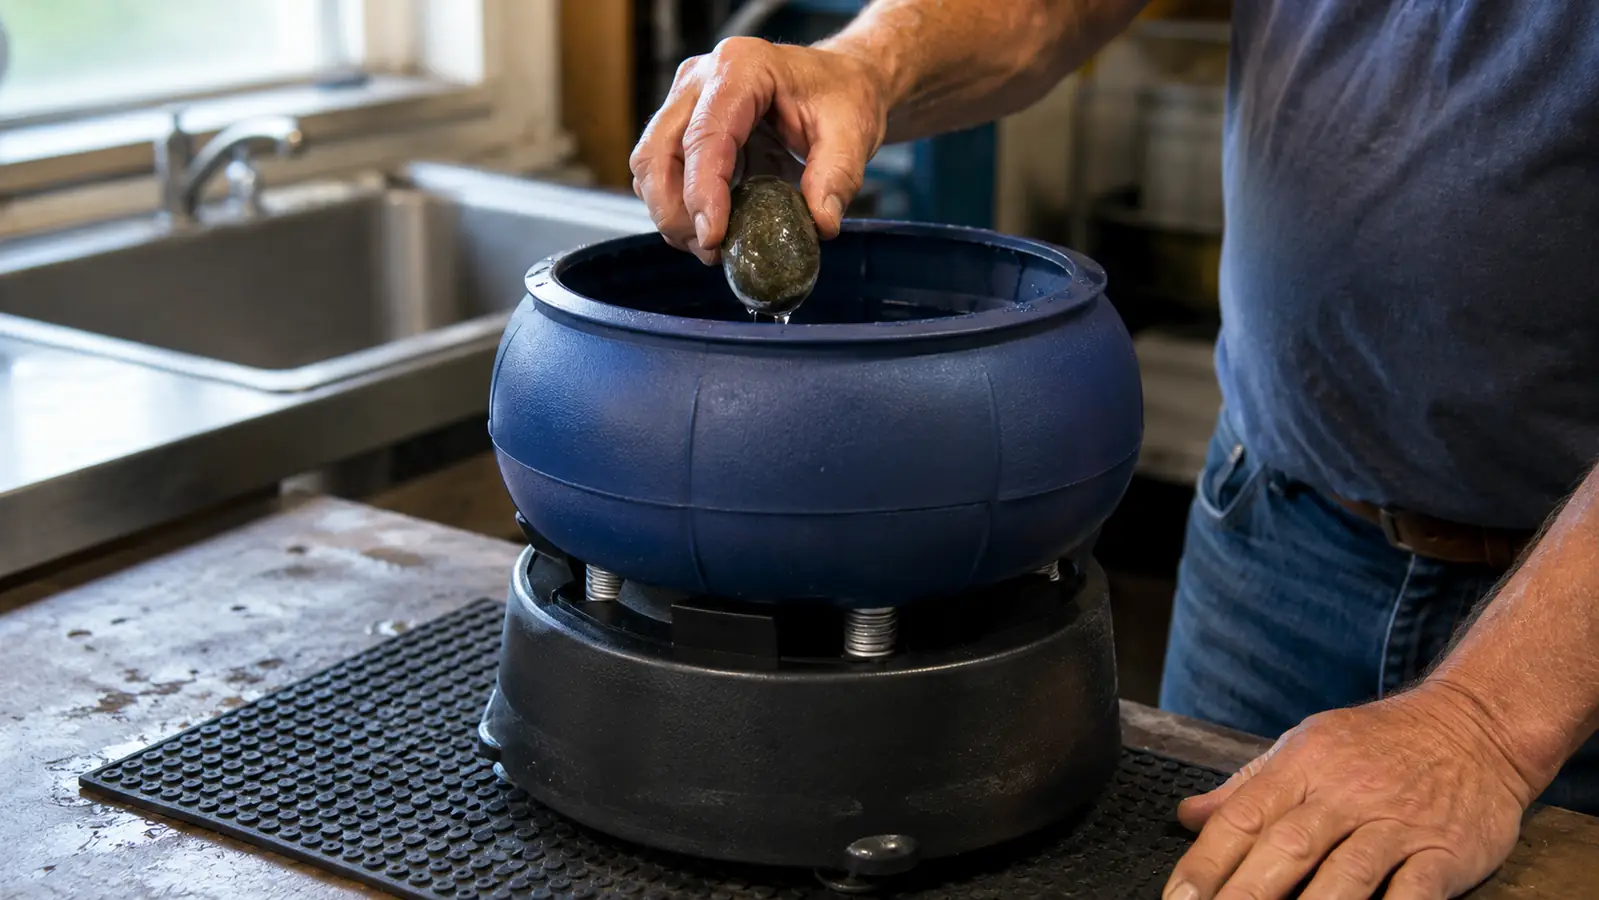
The Raytech TV-5 bowl wants to be about two-thirds full, never packed to the rim. Vibratory tumbling needs open space at the top so the slurry can move and the stones can circulate. If you pack it full, the top layer just sits there and the bottom layer does all the work. I learned this the slow way on a batch of agate that came out polished on one side and untouched on the other.
Add water until it sits just below the tops of the stones, then add your grit. For a load this size, a couple of heaping tablespoons is right. I add a single drop of dish soap as a wetting agent so the grit spreads evenly instead of clumping in the corners. The drop of soap matters more than it sounds like it should, and I cannot explain why, only that the batches with it come out brighter. Then the lid goes on, the bowl goes on the rubber mat, and the machine runs.
One note on placement. The machine needs to sit level, and it will walk across the bench if you let it. The rubber mat fixes that and kills most of the hum. I run mine in the garage with the door cracked, even in a Tucson summer, because a covered bowl still builds heat over a three day run. The garage stays cooler than the yard by mid afternoon, which is exactly what a long polish stage wants.
Step 3: Move Through the Grit Stages
Start with 60/90 silicon carbide if the stones need any shaping at all, then step down through 220 and 400. If your stones are already smooth, you can skip straight to the fine stages. Each grind stage in the Raytech TV-5 runs one to three days, where the same stage in my rotary ran one to two weeks. The grit does the same job in both machines. It just does it faster when the bowl is vibrating. I keep a laminated card taped to the shelf with the stage times, because I will never remember them in July.
Check the bowl every six to twelve hours. You are looking for two things. The slurry should be thick like thin mud, not watery, and the stones should be losing their sharp edges evenly. If the slurry goes watery, add a splash of water and a pinch of fresh grit. If the stones look done, move to the next stage. Do not leave a stage running out of habit, because over-grinding in a vibratory bowl happens faster than you expect.
Between stages, clean everything. Rinse the stones in the utility sink, scrub the bowl with a brush, and flush the whole works until the water runs clear. A single grain of coarse grit left in the bowl will scratch the polish stage like a key on a car door. I keep three plastic tubs labeled coarse, fine, and polish, and the grit never crosses tubs. That habit is what took my batches from acceptable to actually glossy.
Step 4: Run the Polish Stage
For quartz and agate, I use 500 to 600 grit aluminum oxide, and cerium oxide for the stones I really care about. The polish stage runs twenty-four to seventy-two hours. The slurry should be thinner than the grind stages, more like cream, and you will add a little water once or twice as it evaporates. I check every twelve hours and stop the moment the stones look glossy while wet.
Here is where the vibratory machine earns its keep. In the rotary, I used to run the polish stage for a full week and still get a finish that looked dusty in direct light. The Raytech TV-5 gets the same stones to a wet-look gloss in about two days. The catch is knowing when to stop. Leave it an extra day and the polish goes milky, so I pull one stone, rinse it, and hold it under the bench light before I make the call.
If a stone comes out with a dull patch, do not panic. It usually means the bowl was a touch too full or the slurry dried out. Rinse everything, add fresh polish, and run it another eight hours. Nine times out of ten, the dull patch is gone by morning. The same trick works for a hazy patch that shows up after drying, except I run the burnish cycle first and only go back to polish if the haze survives the borax.
Step 5: Burnish, Dry, and Finish
When the polish stage is done, the stones will have a haze of grit residue in every little pocket. Wash them in the utility sink with dish soap and a toothbrush, then run a burnish cycle. Clean bowl, clean stones, a tablespoon of borax, water to the same level, and two to three hours on the machine. The borax pulls the last of the polish out of the pits and leaves the surface clean.
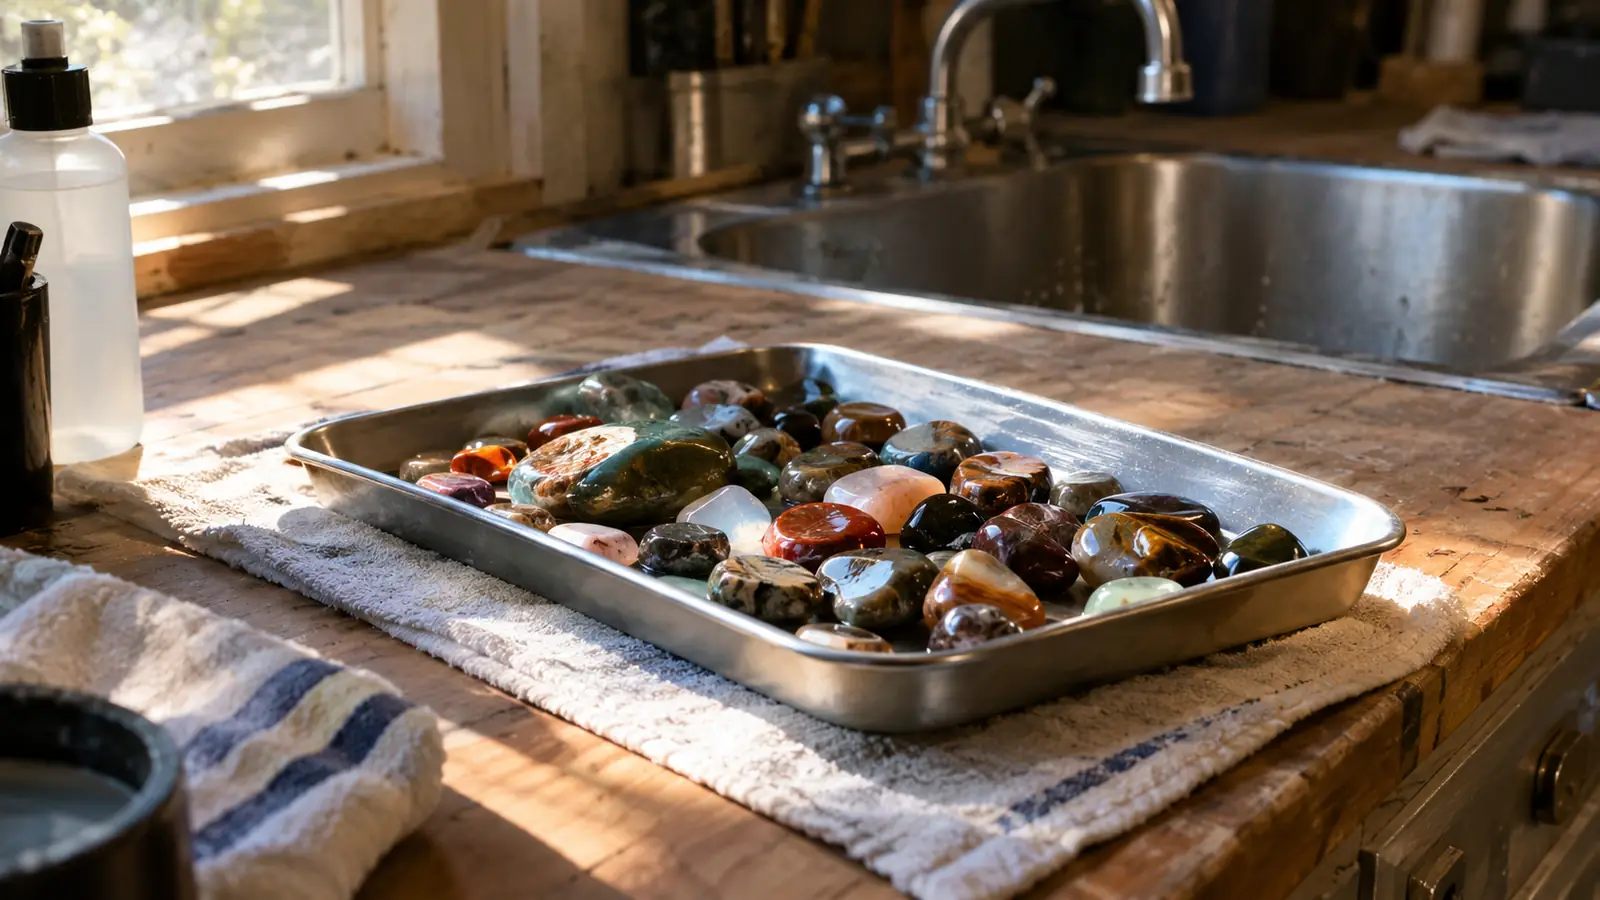
Drain the stones, rinse them again, and lay them out on a shop towel to dry. Once they are dry, a drop of mineral oil on a soft cloth brings up the color the way water does, and that is the finish I aim for. I keep the oil off stones headed for jewelry, but for the bowl on the coffee table, it is the last step that makes people ask where they came from.
Write the dates and the grit stages in a notebook when each batch finishes. Twelve years in, I still forget which bowl ran what, and the notebook is the difference between repeating a good batch and redoing a bad one. The other thing I write down is the source, because stones from the same creek bed behave the same way twice, and stones from a different wash never do.
None of this is complicated. It is just a sequence, and the sequence is the same every batch. Shape the stone, clean the stone, grind it down through the grits, polish it, burnish it. The Raytech does not change any of those steps. It just makes each one take days instead of weeks, which means you get to see the result while the project is still interesting. That is the whole reason mine stays on the bench.
What Else Helps
A few things make the Raytech TV-5 easier to live with. A set of plastic strainers, one per grit stage, so nothing crosses. A cheap jeweler's loupe to check the surface before you pull a batch. A rubber mat under the machine, which I already mentioned and will mention again, because it saves the bench and your ears. Spare plastic tubs for sorting. A notebook. And if you have a dog like mine, put the machine where the blanket is not, or put the blanket where the machine is not. Biscuit picked the workbench corner, so the TV-5 lives on the lower shelf, and everybody sleeps fine.
Ceramic media is worth a try in the later stages. A handful of ceramic pellets cushions the stones, keeps the slurry working into the low spots, and fills the gaps so the load circulates better. I was skeptical for years because it felt like an extra expense. Then I ran one batch with media and one without, and the difference showed up on the same shelf side by side. Now the media tub lives next to the polish.
One more thing. The Tucson gem show in February is the best place I know to buy clean, pre-formed material cheap, and the vendors are happy to tell you where a stone came from. A pound of good agate rough from a show bin beats three pounds of mystery gravel from a wash every time, because you can see exactly what you are loading into the bowl.
My last batch went from coarse grind to polish in nine days. In the rotary, that same batch would have been five weeks.
Ready to See a Batch Finished in Days, Not Weeks
The Raytech TV-5 is the machine I reach for first, and it is the one I recommend when someone asks how to get a glossy finish without giving up a month of garage time. It will not shape rocks for you, but for stones that are already shaped, nothing in my garage gets them glossy faster.
Amazon Check Today's Price on Amazon →