
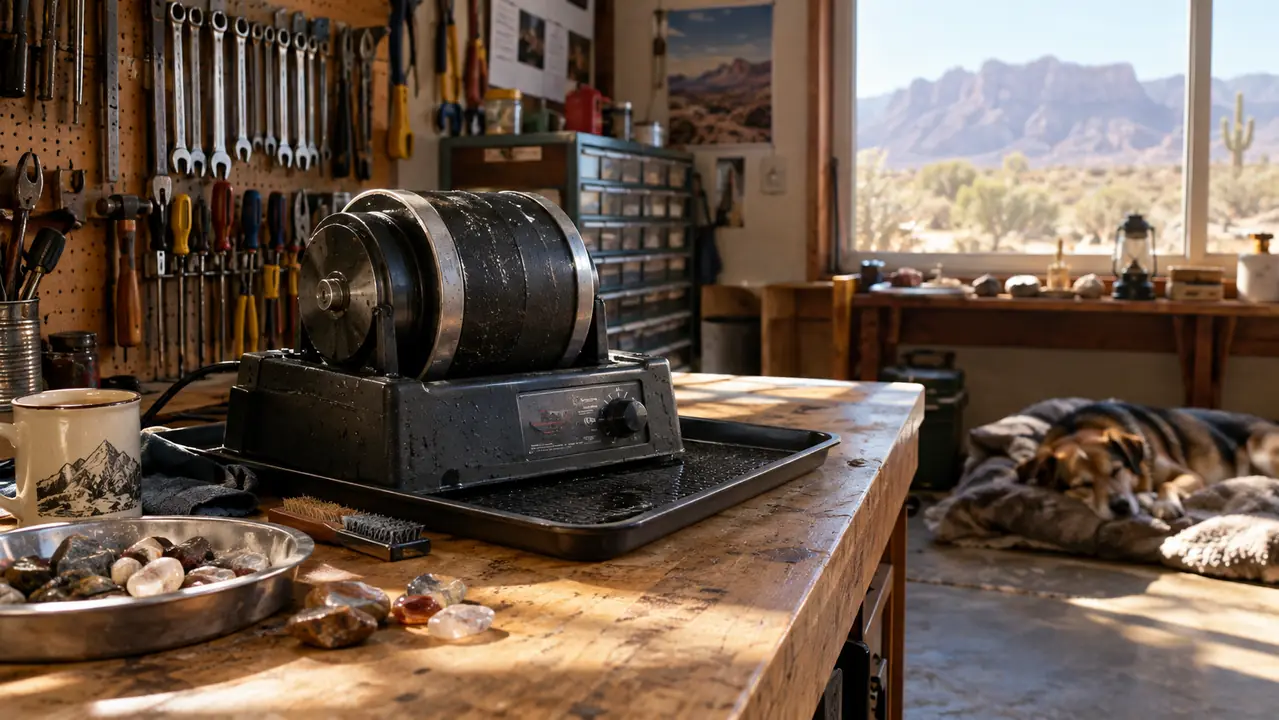
If you have ever cracked open a tumbler barrel after three weeks and found rocks that are clean but dull, you know the letdown. The polish step gets the blame, but a dull finish almost always starts earlier. I have been tumbling rocks in my garage here in Tucson for about twelve years, and I have ruined plenty of batches learning that the hard way. The shortcut that ruins a polish is skipping a grit stage, and the fix is the same every time: slow down, run every stage, and clean like it matters, because it does. I see the same mistake every winter at the Tucson gem show, where someone holds up a batch of rocks that look washed out instead of glassy. They spent the money and the time, and one skipped stage undid all of it.
The grit you use matters less than the order you use it in, but it still matters. The National Geographic Rock Tumbler Grit and Polish Refill Kit from Blue Marble is what I keep on the shelf now. It gives you all four stages in one box, which sounds simple, but it removes the guesswork that trips up beginners. I have used separate bags of grit from the supply house for years, and they work fine. The Blue Marble kit just makes it easier to keep the stages straight, because the bags are clearly marked and the amounts match a standard three-pound barrel. Here is the exact routine I use to get a glass-smooth polish, step by step.
A Glass Finish Starts With the Right Grit, Not the Right Rock
The Blue Marble refill kit covers all four stages of a rotary tumble, so you are not mixing grits by guess. Start the routine with a kit that is set up to finish the job, and save the improvising for later batches.
Amazon Check Today's Price on Amazon →Step 1: Sort Your Rough and Load the Barrel Right
A glass polish starts with the rocks you put in the barrel. I sort a batch by hardness first. Stones that are roughly the same hardness tumble together better. If you mix agates with soft sandstone, the soft rock wears away and the grit gets spent on it instead of shaping the harder pieces. I keep a simple rule: if a stone scratches easily with a steel file, it does not go in the same barrel as the hard stuff. Sorting also means checking for cracks. A cracked stone can break apart mid-tumble and turn into sharp grit that scratches everything else in the barrel.
Fill the barrel about two-thirds to three-quarters full with rocks, and top it off with ceramic media if you have it. The media keeps the rocks from banging each other flat. Water goes in until it just covers the rocks, no more. Too much water slows the grit down, and too little lets the rocks pound. Then add your coarse grit, close it up, and let it run. I also put the barrel on a rubber tray at the back of the bench. Our dog Biscuit naps on a blanket in the garage, and he hates loud rattling, so the tray and a little distance keep everybody happy.
One more thing before you start: date the barrel with a marker. Write the stage and the date on the lid. After four stages and a month of running, you will not remember whether this batch is on day two of the medium grit or day six, and the lid will tell you. Carol started doing this with her plant watering schedule, and I borrowed the habit.
Step 2: Run the Coarse Stage Long Enough
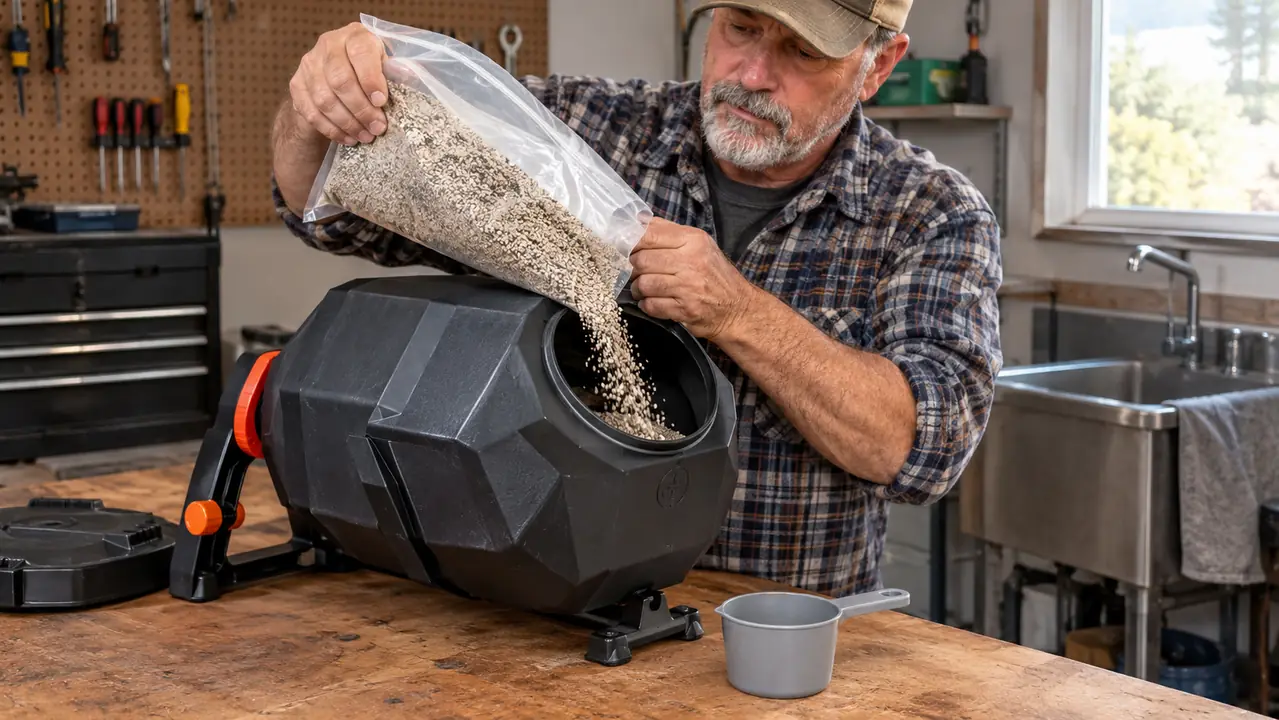
The coarse grit, usually 60/90 silicon carbide, does the heavy shaping. This is the stage that rounds the edges and knocks off the rough crust. Run it for seven to ten days. I know that sounds like forever, but a rotary tumbler works slow, and the coarse stage is where impatience does the most damage. Pull a rock out on day five and it will still look rough. That is normal. The rocks are not done until the crust is gone and the edges feel rounded, not sharp.
Two tablespoons of grit per pound of rock is the number I use. If you are running a three-pound barrel, that is about six tablespoons. When the seven days are up, open the barrel and rinse the rocks in a strainer until the water runs clear. Then, and this is the part people skip, scrub the barrel itself. Any grit left behind will contaminate the next stage. I rinse the rocks in the utility sink by the back wall, and I keep a dedicated strainer for tumbling so dish soap residue does not end up in the barrel.
Do not judge the coarse stage by how the rocks look in the barrel. Dump them out, rinse them, and look at them in daylight. What you are checking for is shape. If the edges are still sharp, give the barrel another two or three days. Coarse grit is cheap compared to a wasted month, and a week more here saves you from starting over later.
Step 3: Don't Skip the Medium Stage
The medium grit, usually 120/220, is the stage most beginners skip, because the rocks already look smooth. They do not. What they look is worn. The surface still has tiny pits and scratches left from the coarse grit, and the medium stage is what takes those out. Run it for five to seven days. This stage does not make a dramatic difference, and that is exactly why it gets skipped, and exactly why skipping it costs you the polish.
After the medium stage, rinse the rocks and the barrel again. I run a little dish soap and water through the barrel before the next stage, just to be sure. Any stray coarse grit hiding in a corner will scratch every rock in the batch, and it will do it right at the end, when you can see it. This is also the stage where I check the load level. Rocks wear down, so the barrel may have more room now. Add a little ceramic media to bring it back up to three-quarters full.
If you are tumbling softer material, like calcite or marble, the medium stage is where you start checking the rocks every couple of days. Soft stone can round over fast and lose the shape you liked when you picked it. When the surface feels even and the pits are gone, it is ready. You are not going for shine here. You are going for even.
Step 4: The Pre-Polish Stage Sets Up the Glass
The fine grit, usually 400/600, is the pre-polish. This is the stage where the surface starts to look the way you pictured when you bought the tumbler. It does not have much shaping left to do. Its job is to smooth the scratches from the medium stage down to a level the final polish can handle. Run it for five to seven days. If the rocks spent extra time in the coarse stage, give this stage the same courtesy.
You will notice the rocks feel different after this stage. They will look matte, like frosted glass, but they will feel smooth to the touch. That matte surface is exactly what you want before the polish. If a rock still looks pitted, run the pre-polish again for a few more days. It is cheaper to run a stage twice than to wonder why the polish did not take. I have a jar on the bench for do-over rocks that needed a second pass, and it is usually full.
One habit that helps at every stage, but especially here: keep a few rocks aside from the batch as witnesses. When you rinse the main load, look at the witness rocks and compare them to how they looked at the start of the stage. A witness rock does not lie, and it keeps you from judging the whole batch by the one pretty stone on top.
Step 5: The Polish Stage, and the Clean Barrel That Makes It Work
The final polish, usually aluminum oxide, is what gives you that glass shine. Run it for seven to ten days. The polish is softer than the grit stages, so it does not cut the rock. It burns the surface, which is a machinist's way of saying it rubs the surface smooth at a very fine scale. That burnishing is what reflects light. Think of it like the difference between a rough milled part and one that has been lapped. Same metal, different surface.
Here is where the clean barrel pays you back. If even a speck of coarse grit made it into this stage, you will see the scratches the moment the rocks dry. I rinse everything twice, wipe the barrel with a paper towel, and dry the lid before I add the polish. Then I let it run the full time and resist the urge to peek. Opening the barrel mid-stage lets grit settle and can chip the polish. I also run the barrel a little quieter at this stage, since the load is lighter and the rocks bounce more.
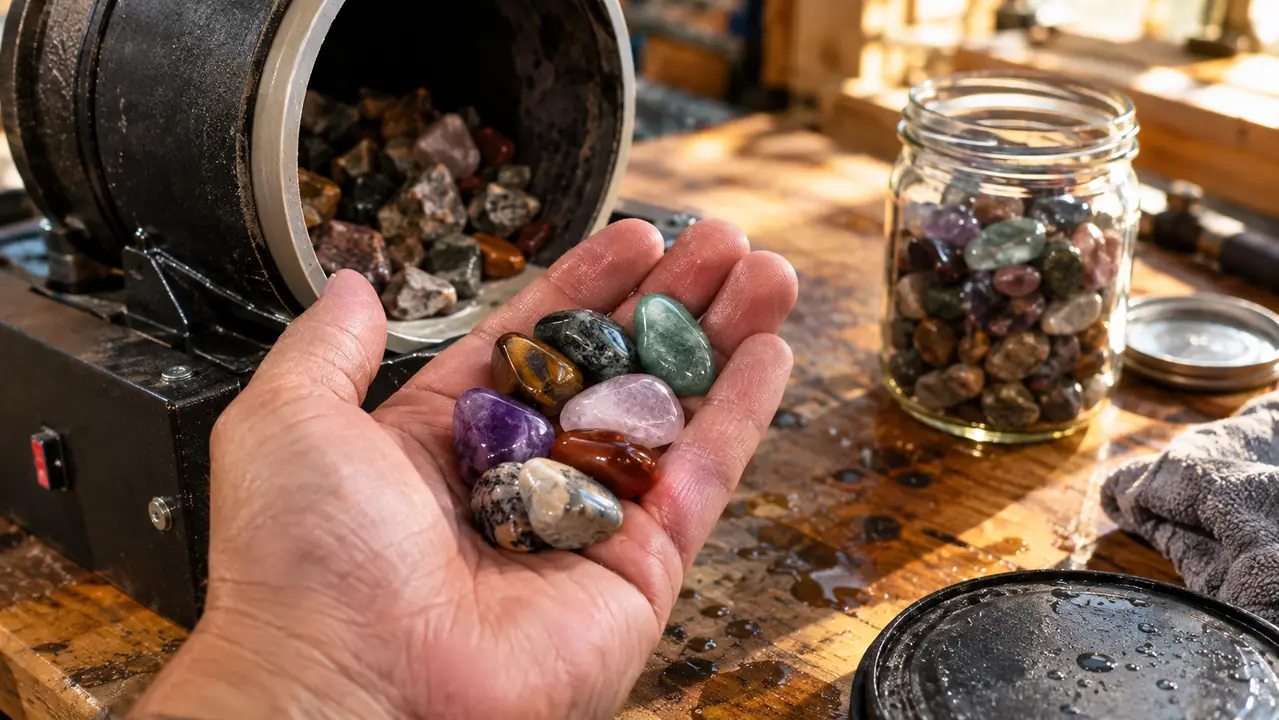
When the polish stage finishes, do not dump the rocks straight into a drawer. Rinse them, dry them, and look at them one at a time under a bright light. A few will have a tiny flat spot where they sat against the barrel wall. Those are the ones I keep in a separate jar for a second polish run with the next batch. The rest go on the shelf, and they look like glass.
What Else Helps
A spoonful of Borax or a squirt of dish soap in the final rinse will knock the oily film off the rocks after polishing. I run the rocks with plain water and a little soap for a couple of hours once the polish stage is done, then rinse and dry them. That last step is the difference between a shine and a shine you can actually see. Oil from your hands alone will dull a polished stone, so handle the finished rocks by the edges.
Ceramic media is worth having for the early stages. It fills the space between rocks and keeps the barrel load at the right level. If you do not have media, a couple of hard scrap rocks that you do not care about will do in a pinch. And check the barrel for leaks before you start. A slow leak on the garage floor is how I learned to set the tumbler on a tray. The tray also catches the fine dust that settles around the lid, and it keeps the bench easy to wipe down.
Keep a notebook or a card taped to the bench with one line for each batch: the rocks, the dates, and what happened. Twelve years in, I still look back at my notes before I start a batch of a stone I have not run in a while. The notes are the cheapest tool in the shop, and they have saved me more batches than any grit ever did.
That is the whole routine. Four stages, honest cleaning between each one, and a little patience. The Blue Marble kit gets you the right grit in the right order, and the rest is just showing up every day to check the barrel. Do that, and the next batch you pull out will look like the ones you see at the gem show, the ones you used to wonder how they got that way.
Every dull batch I ever made came from a skipped stage or a dirty barrel, never from the polish itself.
Run All Four Stages With One Kit
The Blue Marble grit and polish kit covers the full routine, coarse through polish, so the only thing left is to run the stages and clean between them. It is the kit I reach for when I start a new batch, and it is the one I hand to friends who are just getting started. Check the current price on Amazon and see if it fits your shelf.
Amazon Check Today's Price on Amazon →